
For the 3 people that have been reading my posts, you know my journey from ESP8266 hacking off the shelf smart switches to creating custom devices, most of which I connect to Home Assistant so that smart devices are secure and don’t rely on the existence of any particular vendor. The next step in this journey is using ESPHome to simplify creation of custom software for ESP8266/ESP32. For my first project I created ESPHome Temperature and Humidity with OLED Display.
Why ESPHome?
Why use ESPHome instead of something like Arduino Studio? Simply put, its simple but powerful. As an example, I made custom software for a temperature & humidity reader for my bathroom that was 8 custom lines of code (which wasn’t really code, but configuration). YAML configuration files provide access to a ton of sensors, and if you need to dig in deeper with more complicated functionality, ESPHome provides Lambdas that allow you to break into custom C++ at any time.
One of the other cool things about ESPHome is, while it integrates seamlessly with Home Assistant, the devices are meant to run independently, so if a device is out of range or has no network connection, it still performs its functions.
And I wanted to learn something new, so…
Why This Sensor?
I have a few temperature sensors around the house and I also keep one in the camper van, mostly out of curiosity so I can compare it with the in-house temperatures using graphs on Home Assistant. However, I realized that when I went camping I wanted access to the temperature, but couldn’t do so without being connected at home. The old version of the van thermometer was based on an ESP8266 Garage Door opener (I never shared that posting, so sorry, or you’re welcome) and I didn’t want to update it with a display screen, as I really don’t need that for a garage door (yes, I realize something not being needed usually doesn’t stop me from building it). I decided that I might as well take the opportunity to use ESPHome since it was simple and worked offline.
It’s Time to Build
I won’t go into the details of setting up Home Assistant, but if you are into home automation at all, it is super awesome. Installing the ESPHome add-on gives enables the flashing and managing of ESP8266/ESP32 boards, and they automatically connect to Home Assistant at that point.
For the lazy, ESPHome is generally a few clicks and a little copy pasta. For this project, it’s no different, with the step-by-step details available on my Github project page.
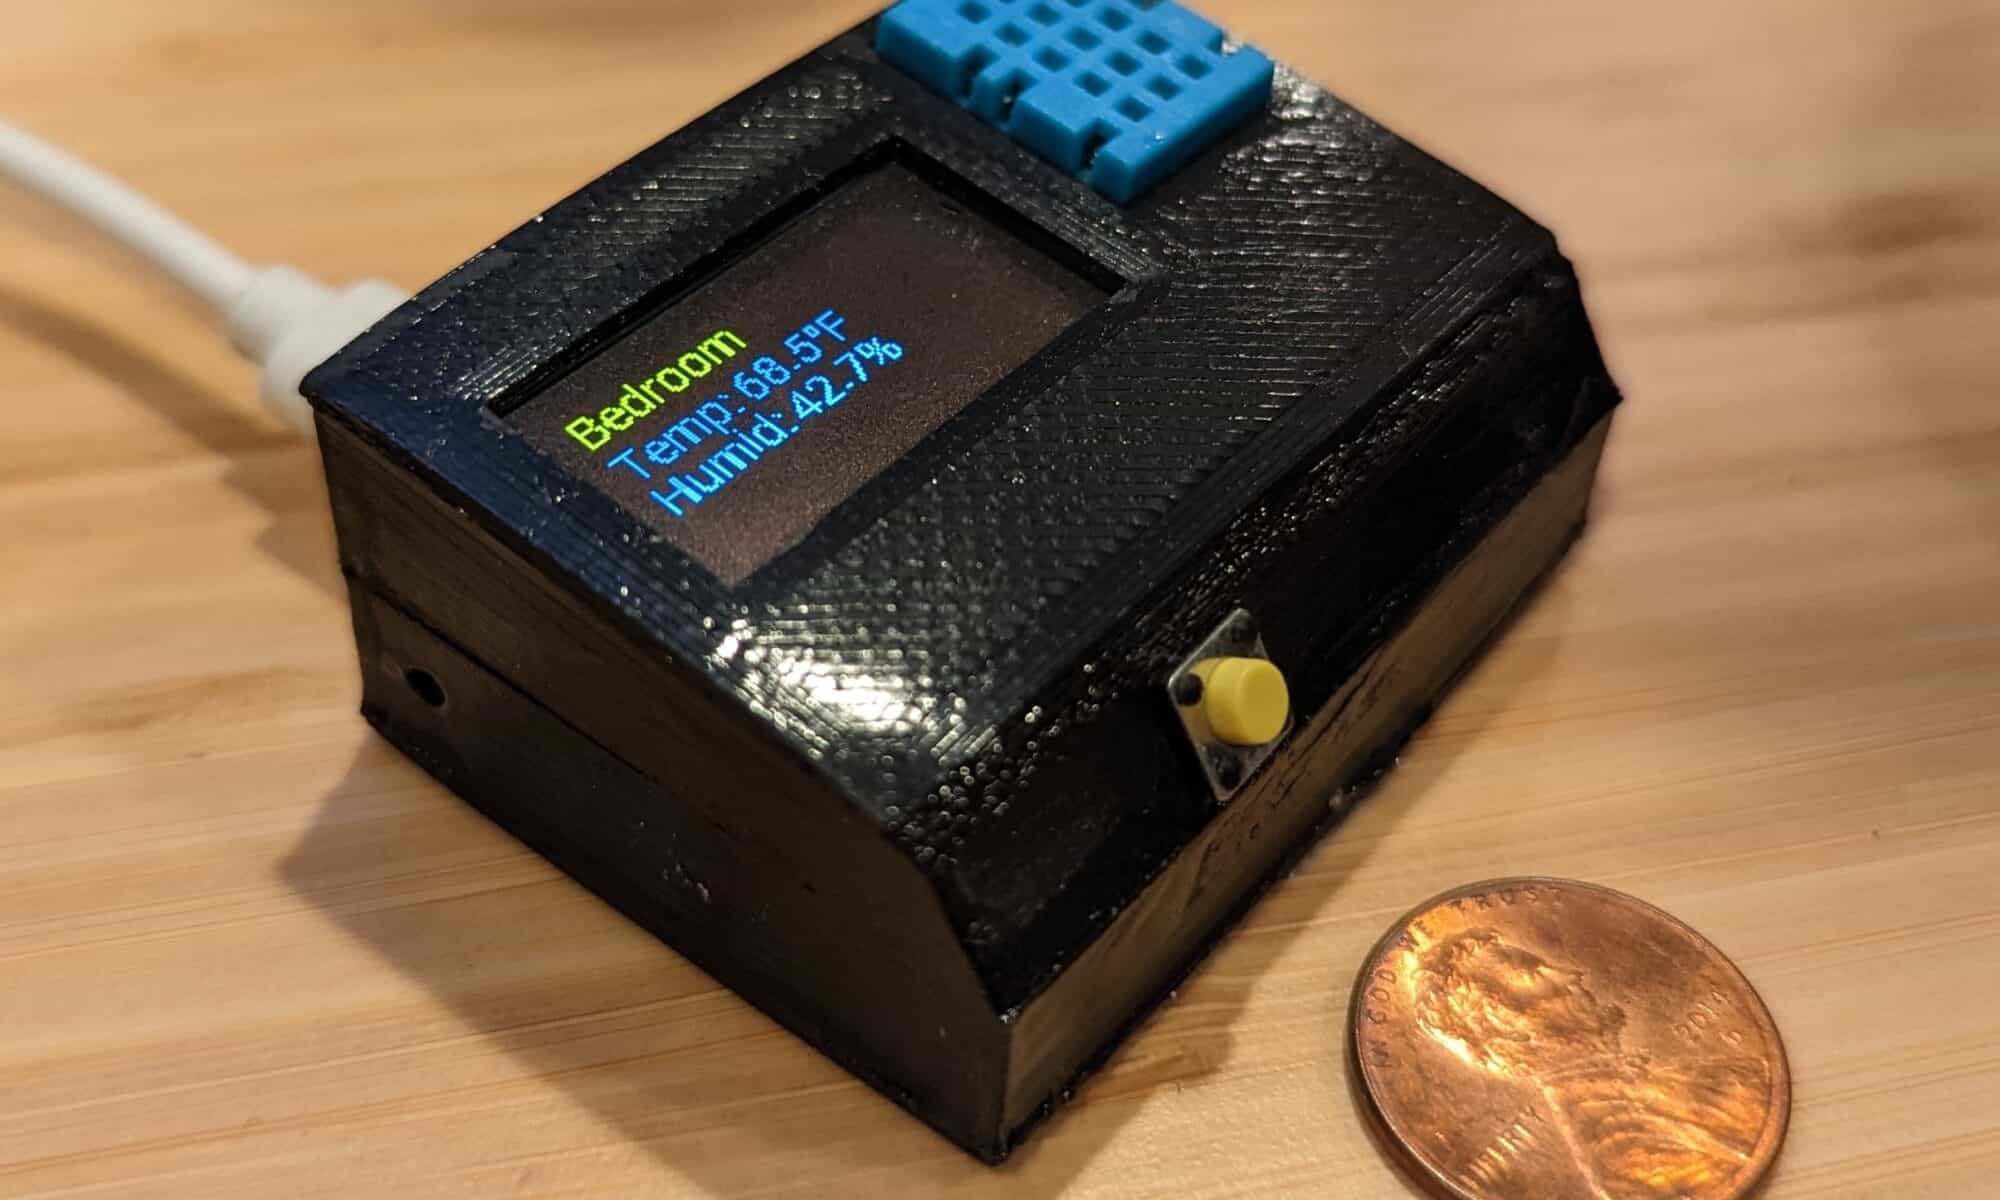
For the hardware, I used the very tiny ESP-12F, DHT11 sensors, this OLED display, and a few miscellaneous components. All of these fit pretty nicely in the case, although it is a pretty snug fit, so I highly recommend a very thin wire, and this 30 Gauge silicone wire was super great for the job. Exact components, wiring diagram, and the STL files to 3D print the case are on my Github project page.
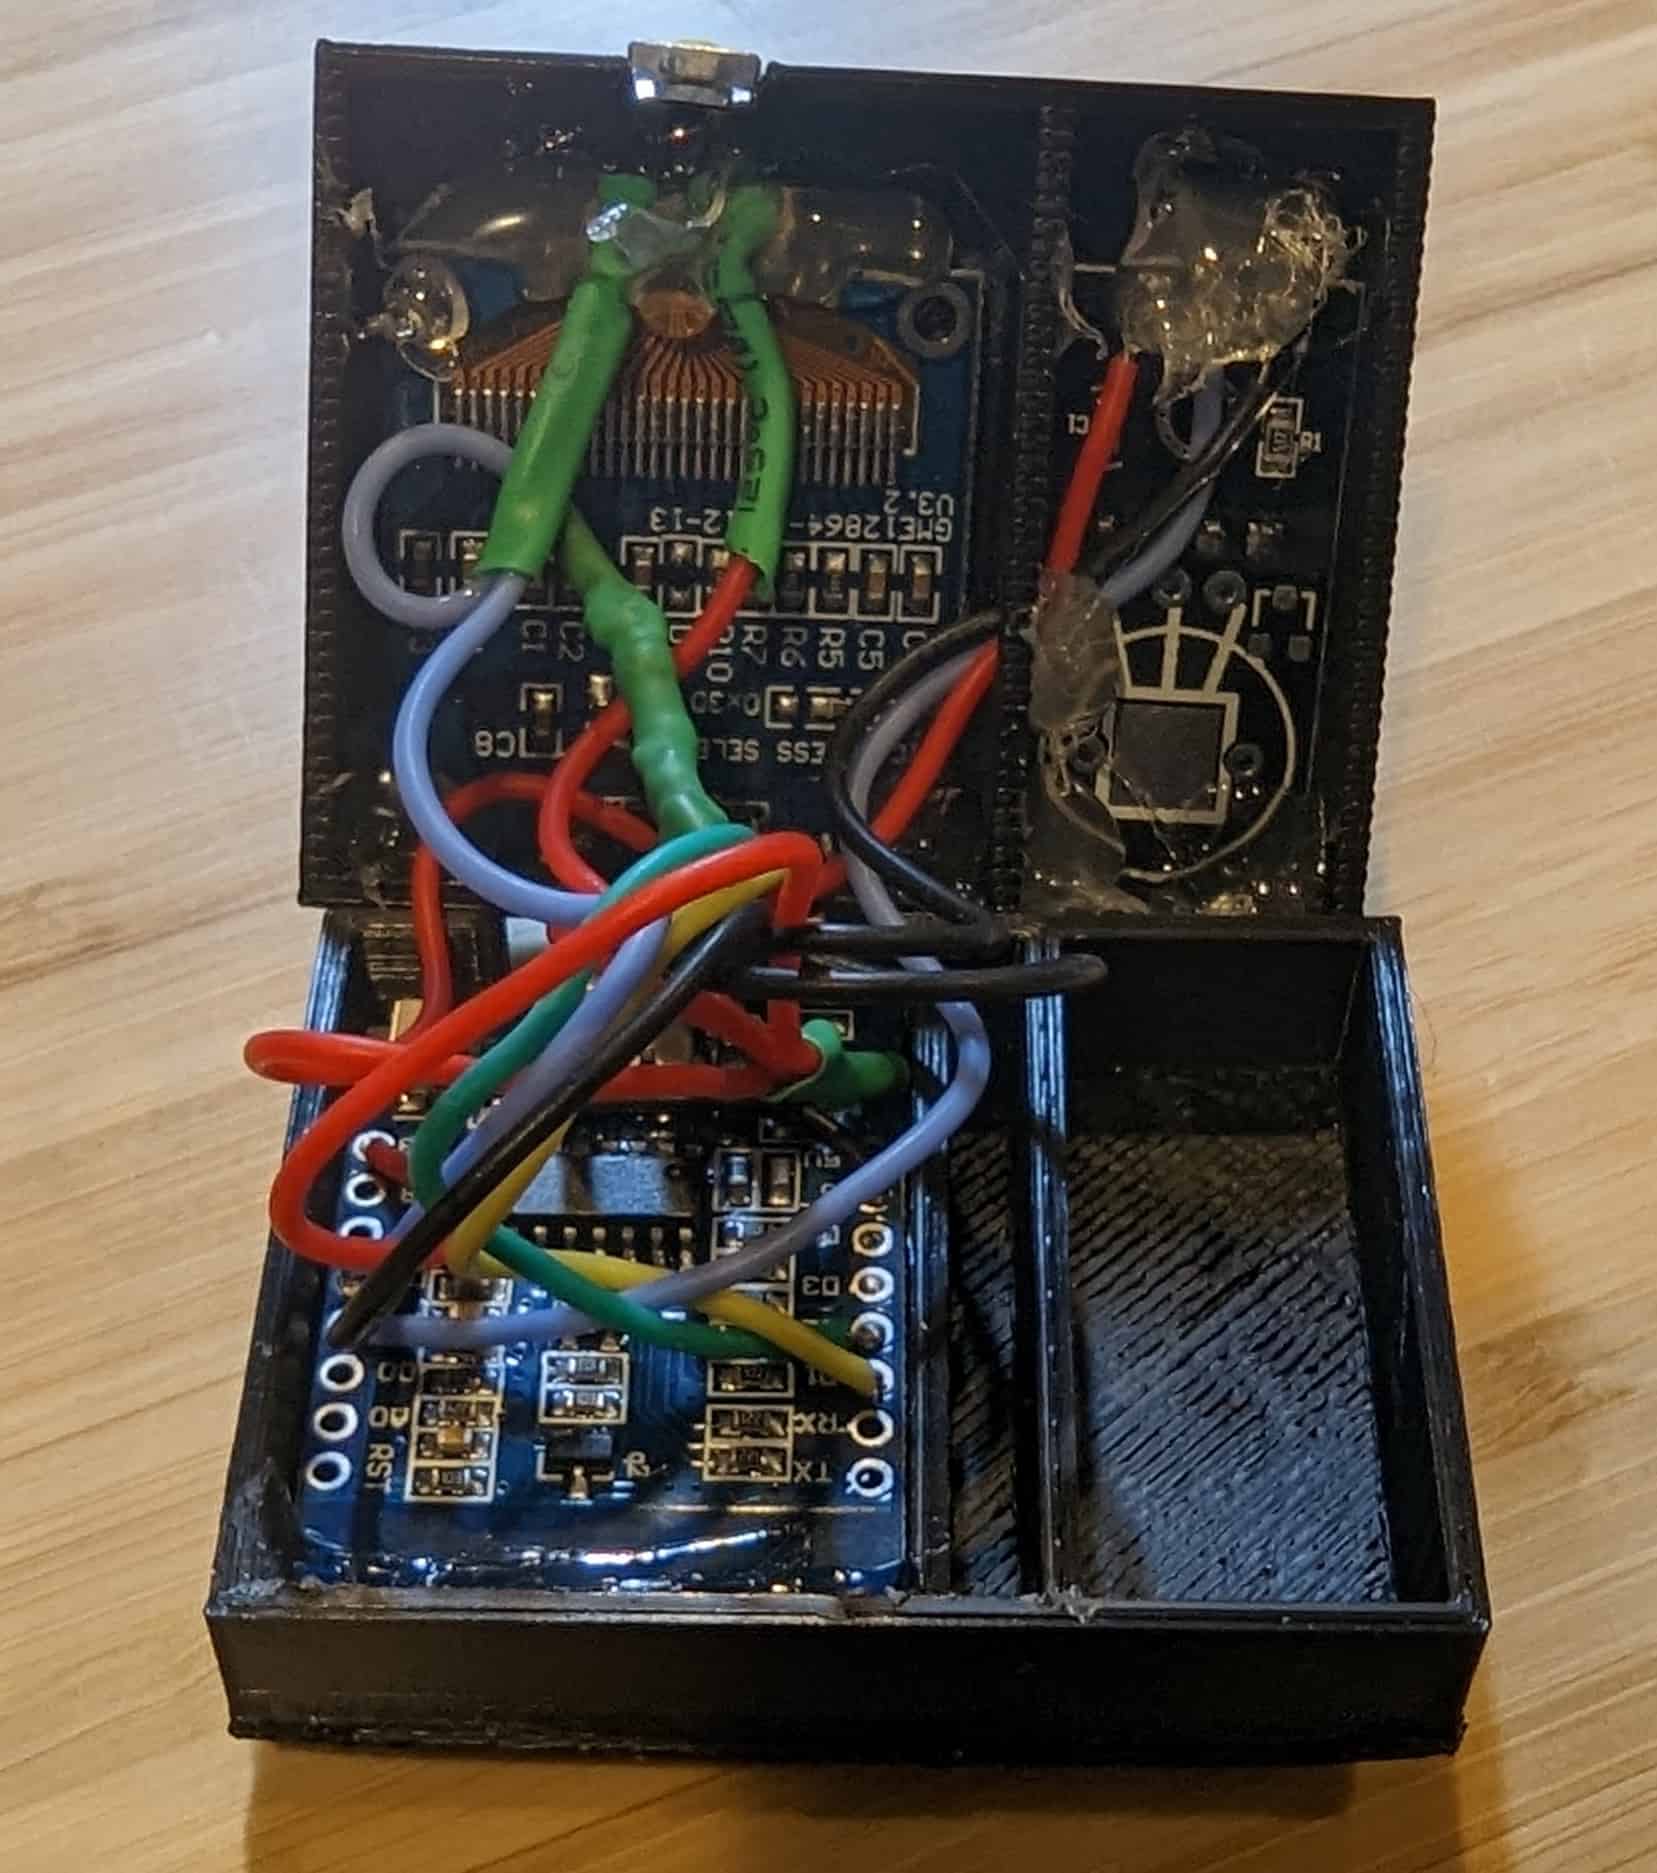
When assembling, removing the pins from the DHT11 board and soldering the wires directly to the board will allow it to be flush against the case, giving better exposure to the sensor and fitting better. The DHT11 is also separated from the ESP8266 board as I was hoping to create some insulation from any heat from the board impacting the temperature reading (not sure that work). There is a hole between the chambers to thread the wires, and I suggest a bit of hot glue to block air flow once wired.
As you can see in the photo, I used generous dollops of hot glue to hold the components in place… it isn’t pretty, but nobody will ever see it (well, unless you photograph it and blog about it, in which case still, probably nobody will see it). I sealed the case with Zap-A-Gap glue, as I found original Super Glue was way less effective.
Instructions
Plug it in.
Okay, well… it’s a little more than that. The screen will alternate between showing the temperature and humidity in text format and a 24 hour graph that is a bit useless for now since I am not sure how to get the historical values to label the graph. The button will toggle screen saver mode on / off, and the screen saver activates automatically after a short amount of time.
If you want to get a little fancier, I have this sensor in the bathroom and it will turn the vent fan on (via Home Assistant) when the humidity reaches a certain level… it’s useful for anything where you want to control devices based on temperature or humidity, and even more useful if someone might want to see the temperature.
Are you doing home automation with ESPHome? Do you have suggestions or requests? Did you actually read this blog post for some reason? I want to know… please leave a comment, below!